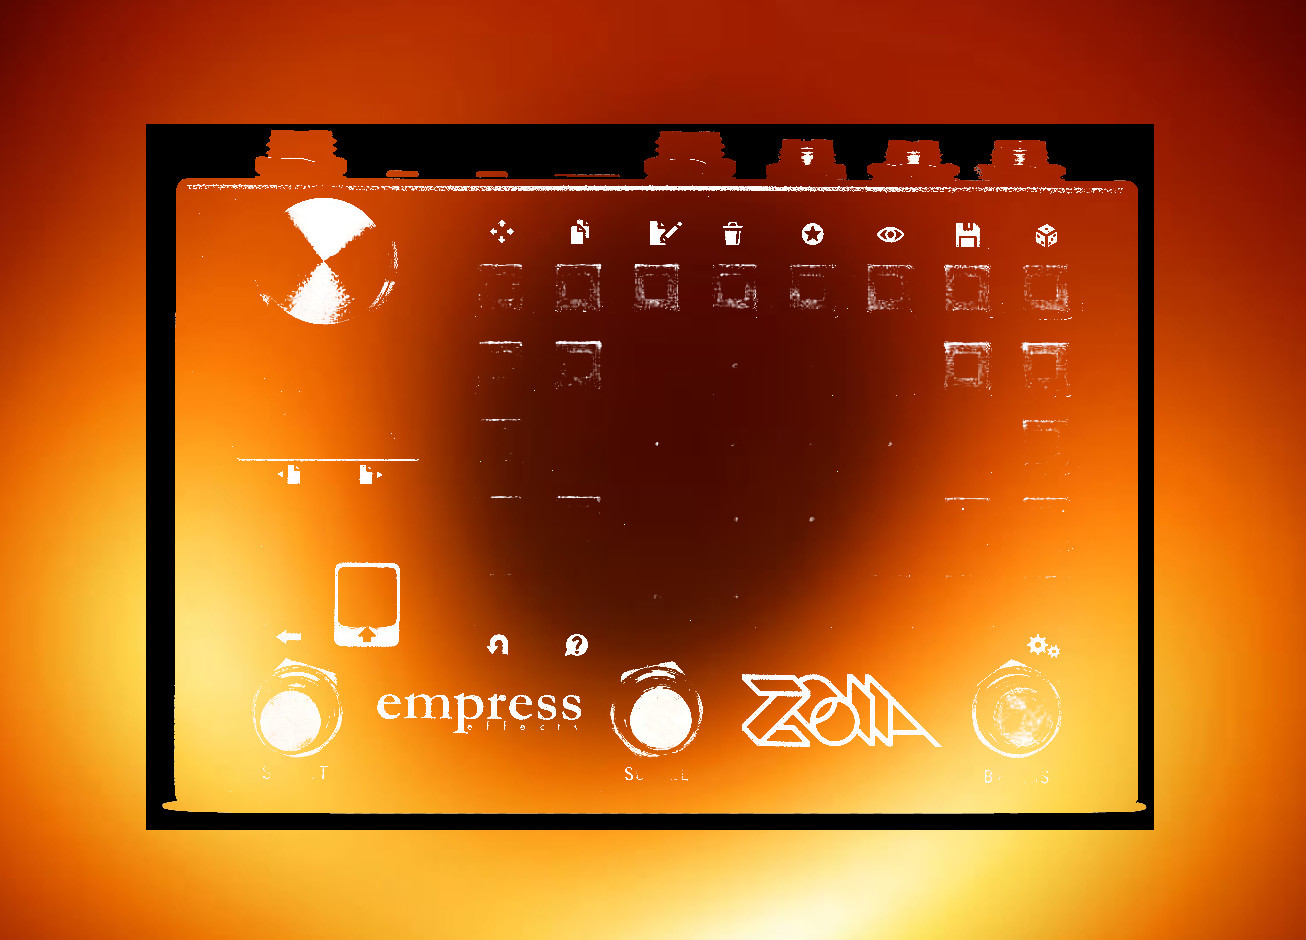
But not a reverse delay. Like Rob Flax’s Reverse Thermae patch (https://patchstorage.com/reverse-thermae-v1-work-in-progress/) this was inspired by Caleb Hargrove’s question on the ZOIA FB group. Caleb’s original question had to do with a delay whose repeats got progressively cleaner, but I took it a different route: what makes this patch a “delay in reverse” is that the repeats get progressively louder, beginning quite quietly and growing in amplitude.
To achieve this, I set up eight delay lines, bucket bridge style, with the output of one connected to the input of the next. Each delay also has its own VCA to control the amplitude of its output. (You could do away with this, except I wanted the option to set the number of repeats — from 2 to 8 — as well have different response curves, for exponential or linear rise in volume.) So the delayed signal is passed from one delay to the next, and each delay is “tapped” with an output.
The result is a series of repeats which grow louder as time passes.
I threw in a bunch of other stuff, because of course I did; the most important is probably a “dry kill” option — it’s quite an interesting effect without a dry signal as a reference point. But check the notes or video for more information on the options.
The signal path is stereo for the dry signal. The wet signal is summed to mono then returned to stereo at the output via a stereo spread.
Controls:
Footswitches:
Left — tap tempo; the clock divider is located on the front page as well — I wanted to make it very accessible because I found that some of the very short chorus/comb filter sounds were interesting and that it also made for an interesting palette for very long/Frippertronics sorts of echo-building
Middle — dry kill; there is a stompswitch module next to the dry level control; when it is off, the dry signal is silenced
Front page:
In the top left corner are three option buttons: “More exponential,” “Exponential” and “Linear.” These control the amplitude growth curve (sort of the anti-decay) of the repeats. More exponential will be more dramatic, with repeats starting quite softly and growing more toward the end; linear will be a steadier growth in volume.
Next to these is a control for “Input gain.” I could have done a “Wet level” control, but I was getting some clipping at one point in development (note: the delays can definitely generate more gain than is put into them, because each is, essentially, an active channel), I decided to use an input control, rather than an output control. But the function is essentially the same; turn this down for quieter repeats, and turn it up for louder repeats.
Below these are controls for “repeats” — this controls how many repeats the delay will have before reaching its highest amplitude, from 2 to 8 — and “feedback,” which is a normal feedback circuit, returning the output of the delay back to the input of the last active delay line. Because the original signal cascades upwards in volume, the feedback will also do this, creating an interesting sort of “waviness.”
Beneath these are tone controls: “aliaser freq” is the frequency of an aliaser. If you know my delay patches, I like tucking these in, because 1) they are very CPU-cheap, and 2) they can add a lot of character, from a mild “lo-fi”-ness to all-out destruction. Following this is a “tone” control that is actually a low-pass filter cutoff frequency; the filter is located at the end of the delay and in the feedback loop, which will cause the repeats to become successively darker when the feedback loop is employed.
Beneath the tone controls are controls for the modulation. The modulation is a triangle-wave, and can add a nice wobbly, chorusy sound, if you like.
In the bottom left corner is the clock divider.
On the right side of the patch is the dry level control. Beneath this is a control to set the amount of stereo spread.


